Friday 25 October 2013

George L's....Mod Up-Date....

I've started setting up my new toy....


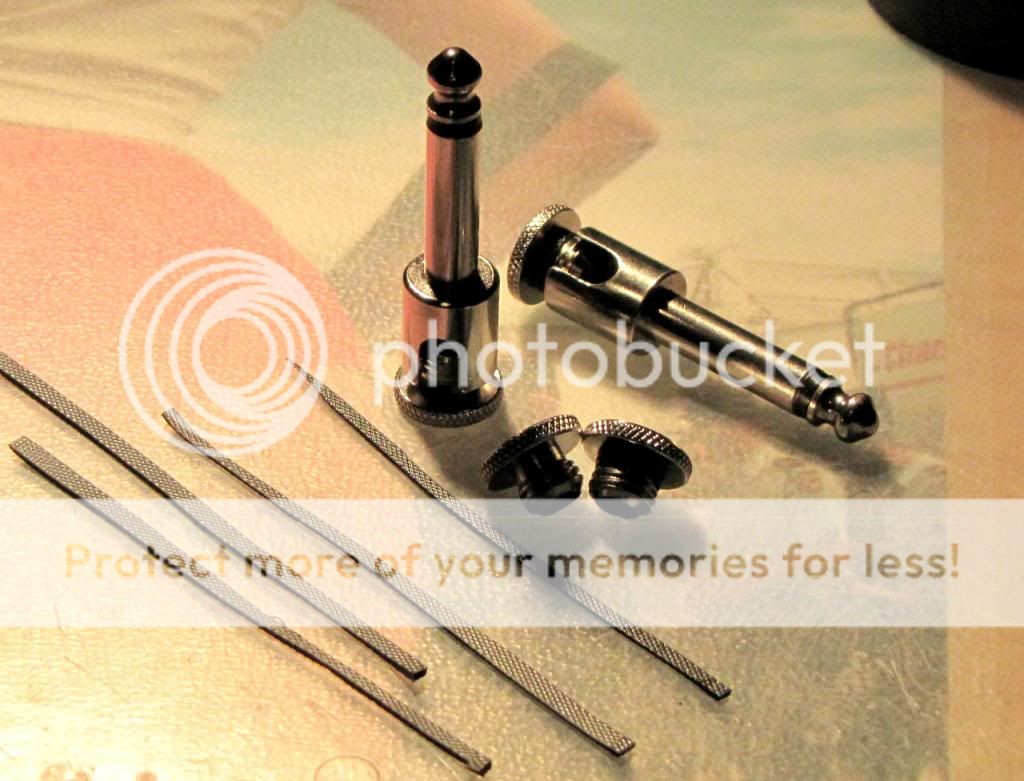
GigRig's G2....it needs a hell of a lot of connecters....and thanks to Sarah from Kewaunee...."you still need to get back in touch"....I've decided to stick with George L's....after a few trail n fail attempts here is what I've found to be the best method of fitting the mod....

 Wrap the amalgamating tape round the cap like your putting on a scarf....

Cross the ends and wrap them round the cap again....press them together and pull the ends tight to thin the second wrap....
You should end up with a rubber band of equal thickness round the inside of the cap....the second wrap around is to keep the two ends coming apart and also not getting a thick bit that ends up bulging out from the cap when you make up the cable....This one in the photo is too thick....it needed pulling tighter....

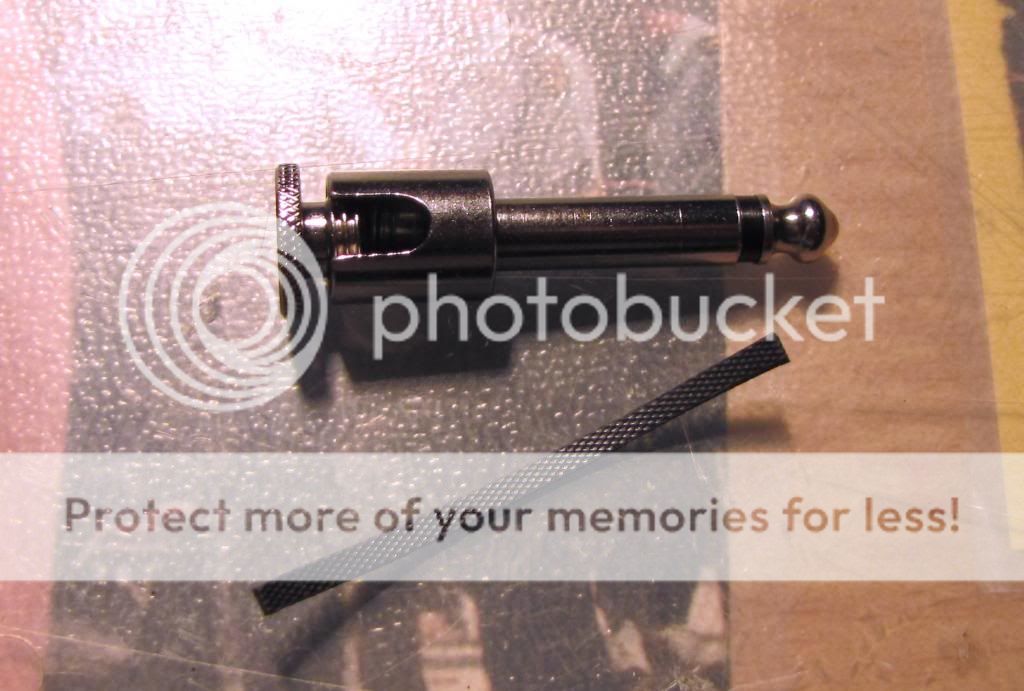
Batch one started....Pedalboard is going to take about 48 connecters....Had to take a trip to Sounds Great....needed 12 new ones to finish off....

Had to exit Sounds Great as quickly as I could....They had one of those new Jim Kelley Amps....ooh momma....k.j.

********************************************

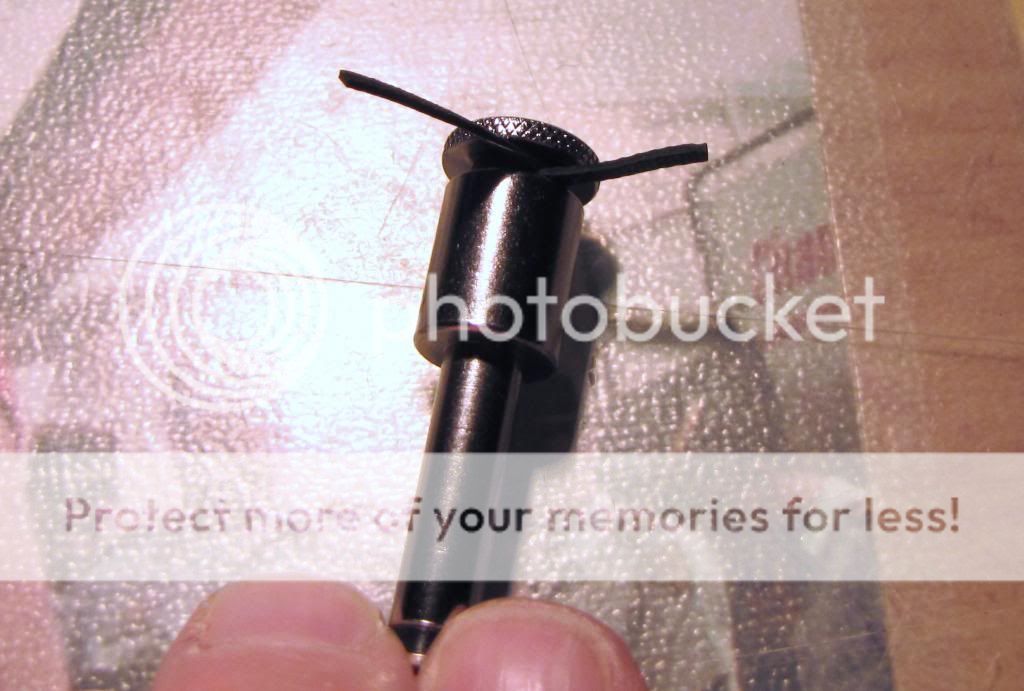
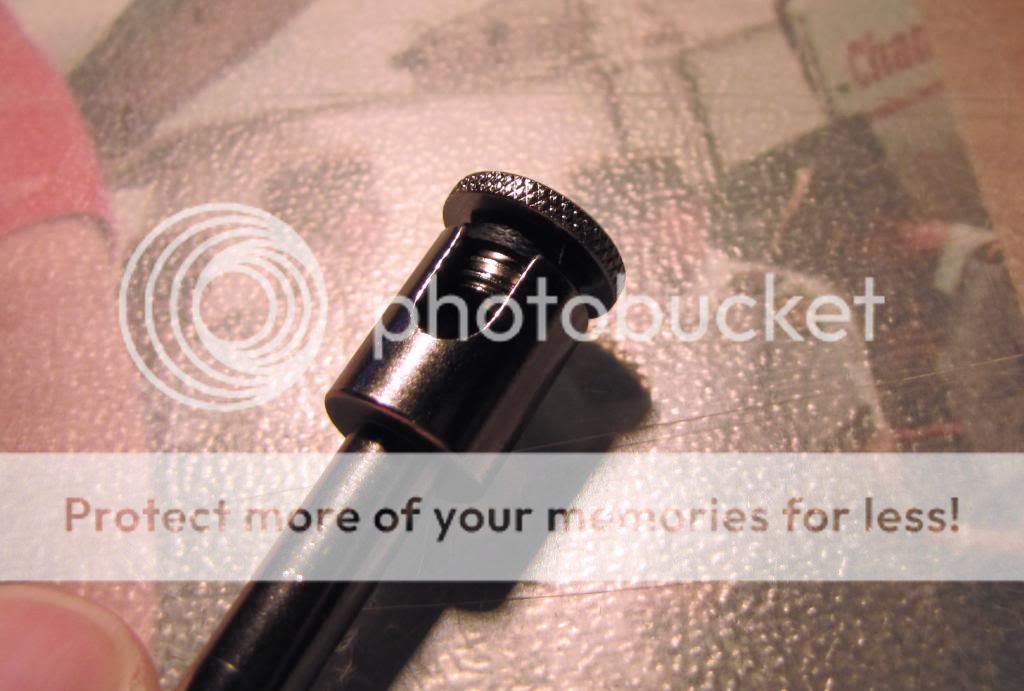
Up-Date No2....The amalgamating tape can bind up in the thread when screwing down the Top Cap....I have been using a squirt of Deoxit to help with initial contact and cleaning when making up my George L's for ages....But....I have now found that Deoxit makes the amalgamating tape turn to mush....If you use Deoxit on your plugs they need to dry completely before you use this mod....If you brush the amalgamating tape with a dab of water "I am talking about the merest amount here" when screwing the Cap down you will not get the binding....The water will help to lube the amalgamating tape when screwing down....It will then evaporate leaving the rubber band to lock the Top Cap on....or you can lick it....that works too....k.j.


Tuesday 15 October 2013

EVR-C30....Update....

I have now finalized the Air Duct....


This new Air Duct works better than the bigger one....It directs the flow of air up and over the tubes more....I made one that moved the fan to the bottom of the duct....blowing the air directly up onto the tubes....While this cooled the tubes very well....it was very noisy....too noisy....Just need to make the duct out of wood now....I will post the measurements if anybody wants them....


I dropped the rear cover down to make a wider gap....Helps vent the hot air away from the amp....and also reduced the fan noise....


I have also been suffering with tube rattle....I put it down to the combos size or a bad tube....But when I was fitting the new air duct I noticed that the amps metal chassis was rubbing on the speakers metal frame....The speakers vibrations were traveling into the amps chassis and cursing the tubes to rattle....Not Good....I have glued some 2mm thick strips of rubber...."pond liner" onto the amps wooden chassis mounts to lift the chassis away from the speakers frame....No more annoying tube rattles....and yes I did try and shift the speaker down on their bolts but they were as low as they would go....the rubber strips were the best and easiest fix....

EVR-C30....still awesome....k.j.

Friday 4 October 2013

Yamaha SA700....Beautiful Nonetheless....

The pick ups in my 35 year old SA700 were acceptable at best....But the pole pieces were not adjustable....so I could never set them up for the neck radius....


I don't beleave Yamaha would have done this to their pickups....


After I had decided to re-use the Yamaha MSG pickups for replacements in the SA700....I would need to make up some new mounting rings....because of the body contours this was going to be a challenge....luckily the MSG pickups have 3 mounting holes per side so I could use the original black mounting rings without filling any mounting holes....


Again luckily for me Yamaha had used identical rated pickups in the MSG....The Bridge....I'm assuming....may have lost some power over their 25 year life...but as the wiring in the SA700 calls for a longer cable in the routing of the Bridge pickup....The original Neck pickup was now perfect for the Bridge position in the SA700...


The hook up wires on the MSG pickups do not adhere to the standard configuration but work in the same way as 4 hook up wires....confusing if your expecting 4 wires....


The red wire is the Hot Signal...."both coils"....The white wire is the Tap...."single coil"....The bare wire...."as always"....goes to Ground...."earth"....


Cover up the white wire....it's not needed for the simple humbucker wiring in this guitar that I had replaced a few months earlier....I could have put in coil taps for both pick ups....but....maybe next time....


Remember to cover all of the guitars body when your soldering....Solder can spit....One drop of hot solder will make a mess of a guitars finish in a moment...."and you will cry"....


Simple....and now comes the nightmare of putting all the controls back through the F Hole....


All done....


I love the woods grain on this guitar....It's not as pretty as a flame top....But there is a beauty in the curves of the grain....showing it for what it is....nothing exotic....just a plain piece of wood....Beautiful nonetheless....k.j.

"and again I did mean to do a video for this post....but I spent all day playing the SA700 and forgot to do one....as soon as I get chance to do one in the next few days....I will....and post it here...."


Wednesday 2 October 2013

Sarah's George L's Mod....This is Awesome....

Sarah from Kewaunee, Wisconsin, USA....Got in touch to say she has used George L's for the same amount of time as me....and after having a good look over all her GL's Plugs has found no plating coming away....That's good to know and was what I was hoping for....Sarah also gave me details of a trick she uses to keep her GL's from coming loose....


Sarah uses thin strips of  self amalgamating silicone tape wrapped once over into the small cavity above the thread of the plugs screw down cap....This acts as a locking seal....stopping the caps from coming loose and breaking the signal....


I hope you can see what Sarah does with her plugs from my photos....I have made up all my cables that I use on my smaller pedalboard using this mod and I am amazed at the difference this thin piece of tape makes....


The caps of the GL's plugs are solidly held in place....self amalgamating tape does not use any adhesive....so there is no mess....and when needed to be removed is as easy as removing a rubber band....This tip is truly awesome....Incredibly easy and incredibly cheap....and makes the George L's plugs pretty much perfect....well....just as long as no more plating comes away....


Sarah....I Thank You a thousand times over....Please get back in touch as I have deleted your comment by mistake....k.j.